
I’ve recently been experimenting with using ready-made acrylic items for needlepoint finishing. This is a low-cost and quick way to display your stitching in a useful item. If you try any of these ideas, tag me on Instagram @lastitcheria!


Finishing Details
-
The typical way to finish needlepoint for acrylics is like a flat back ornament (without a loop for hanging). I won’t cover those details here, but might in the future! Check out my Instagram reels for a journey in ornament finishing.
-
Using ready-made acrylics works best with canvases you can adapt the dimensions. You may have difficulty finding acrylic items in specific sizes.
-
Choose acrylic items that leave 1/2” to 1” of space for the thickness of your needlepoint.
-
If you are using cording to finish your needlepoint, reduce the stitched area by 1/2” in height and width from the interior dimensions of the acrylic.
-
Example: If the interior of the tray is 6” wide and 4” high, then the stitched area of your canvas should be 5.5” wide and 3.5”high. This leaves extra room for 1/4” thick cording.
-
-
If you don’t plan to use cording, then reduce your stitched area by 1/4” from the interior dimensions of the acrylic.
-
If you’re sending your needlepoint to a finisher, double check with them on how big your stitching area should be. They may need extra rows.
-
Due to the way some acrylics are manufactured, there may be a small but visible dimple in the bottom center of acrylic items.
Products
Here are a few products I’ve chosen for my own DIY acrylic projects. If you find something new you like, share with me and I’ll add it to the list!
Trays

These trays slightly nest, so even though they have taller edges, there is about 1” of space for the needlepoint once they are stacked. I’m using this as a cracker tray.
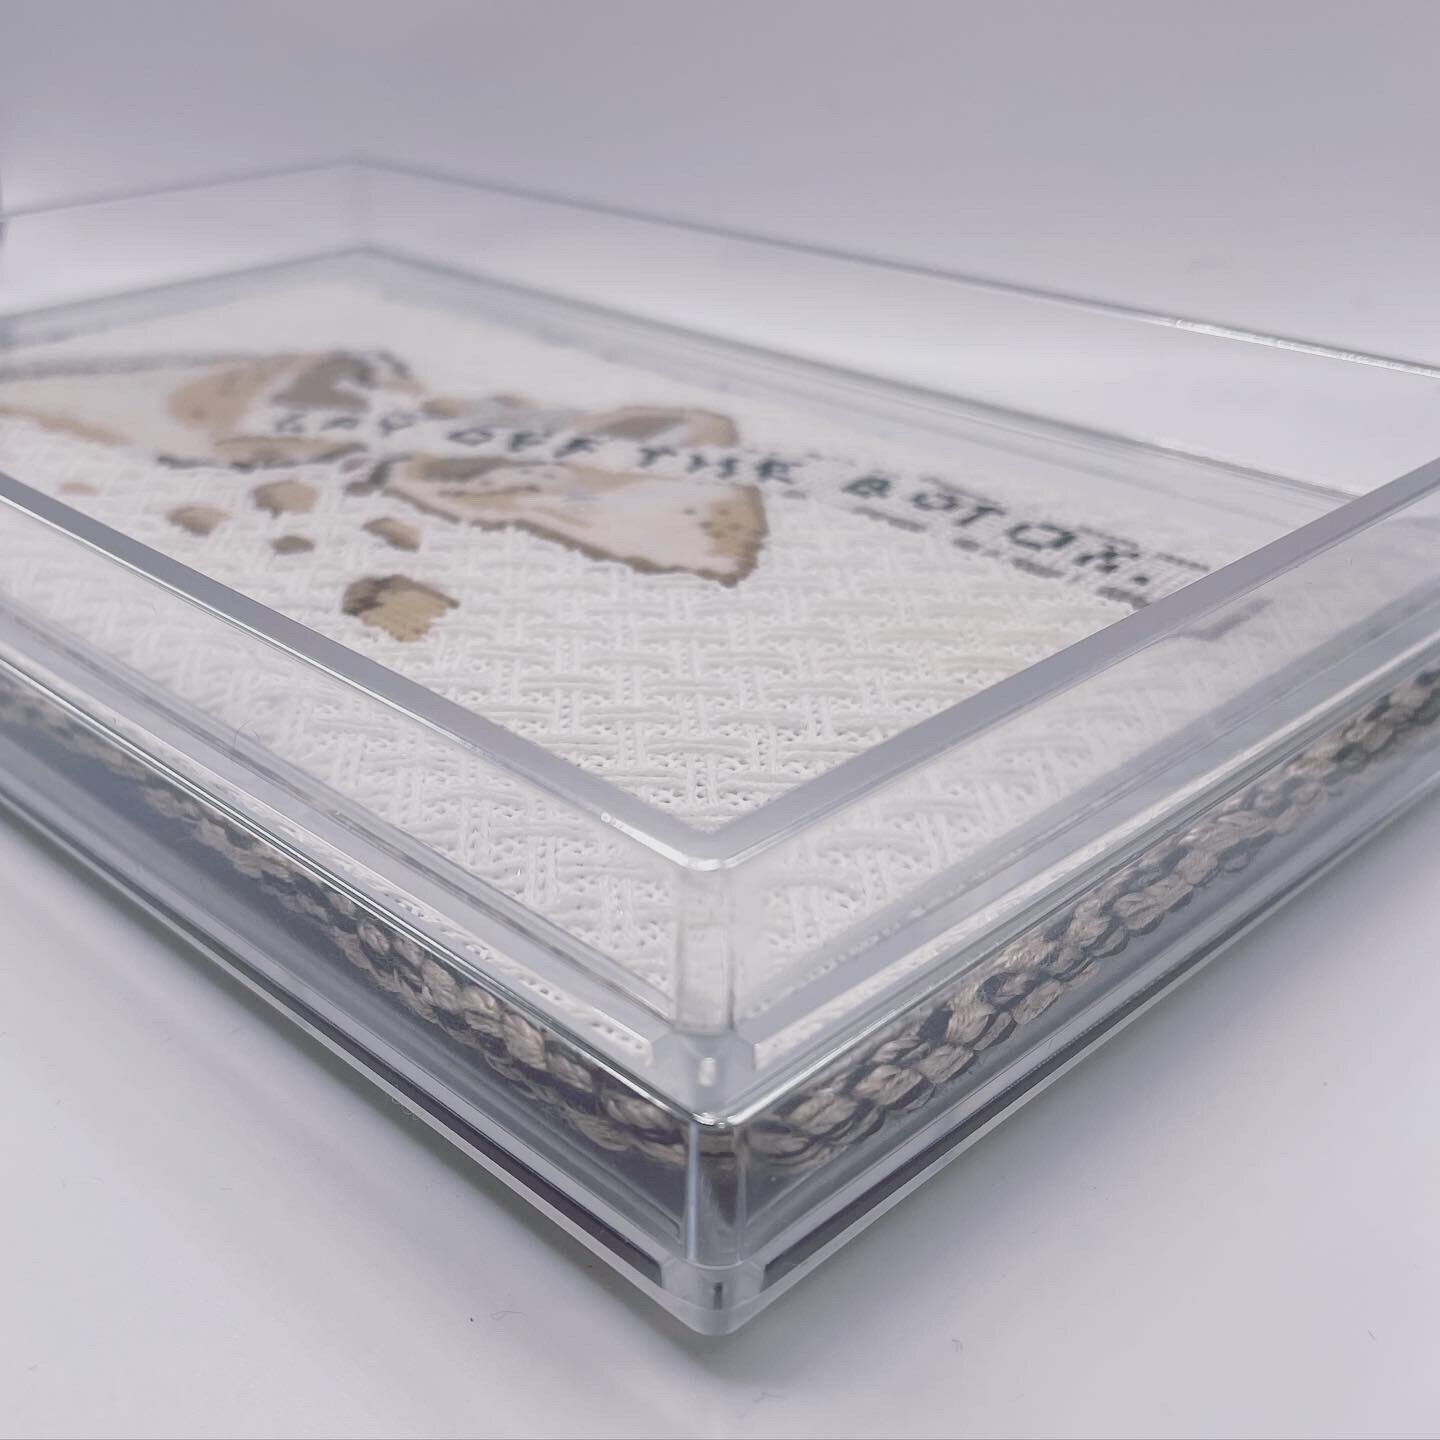
These trays stack right on top of each other. I like that there is only 1/2” for the needlepoint, so it all fits snugly. The top edge of the tray rim is painted silver, which isn’t obvious in the photos. I’m using this as a bedside tray.
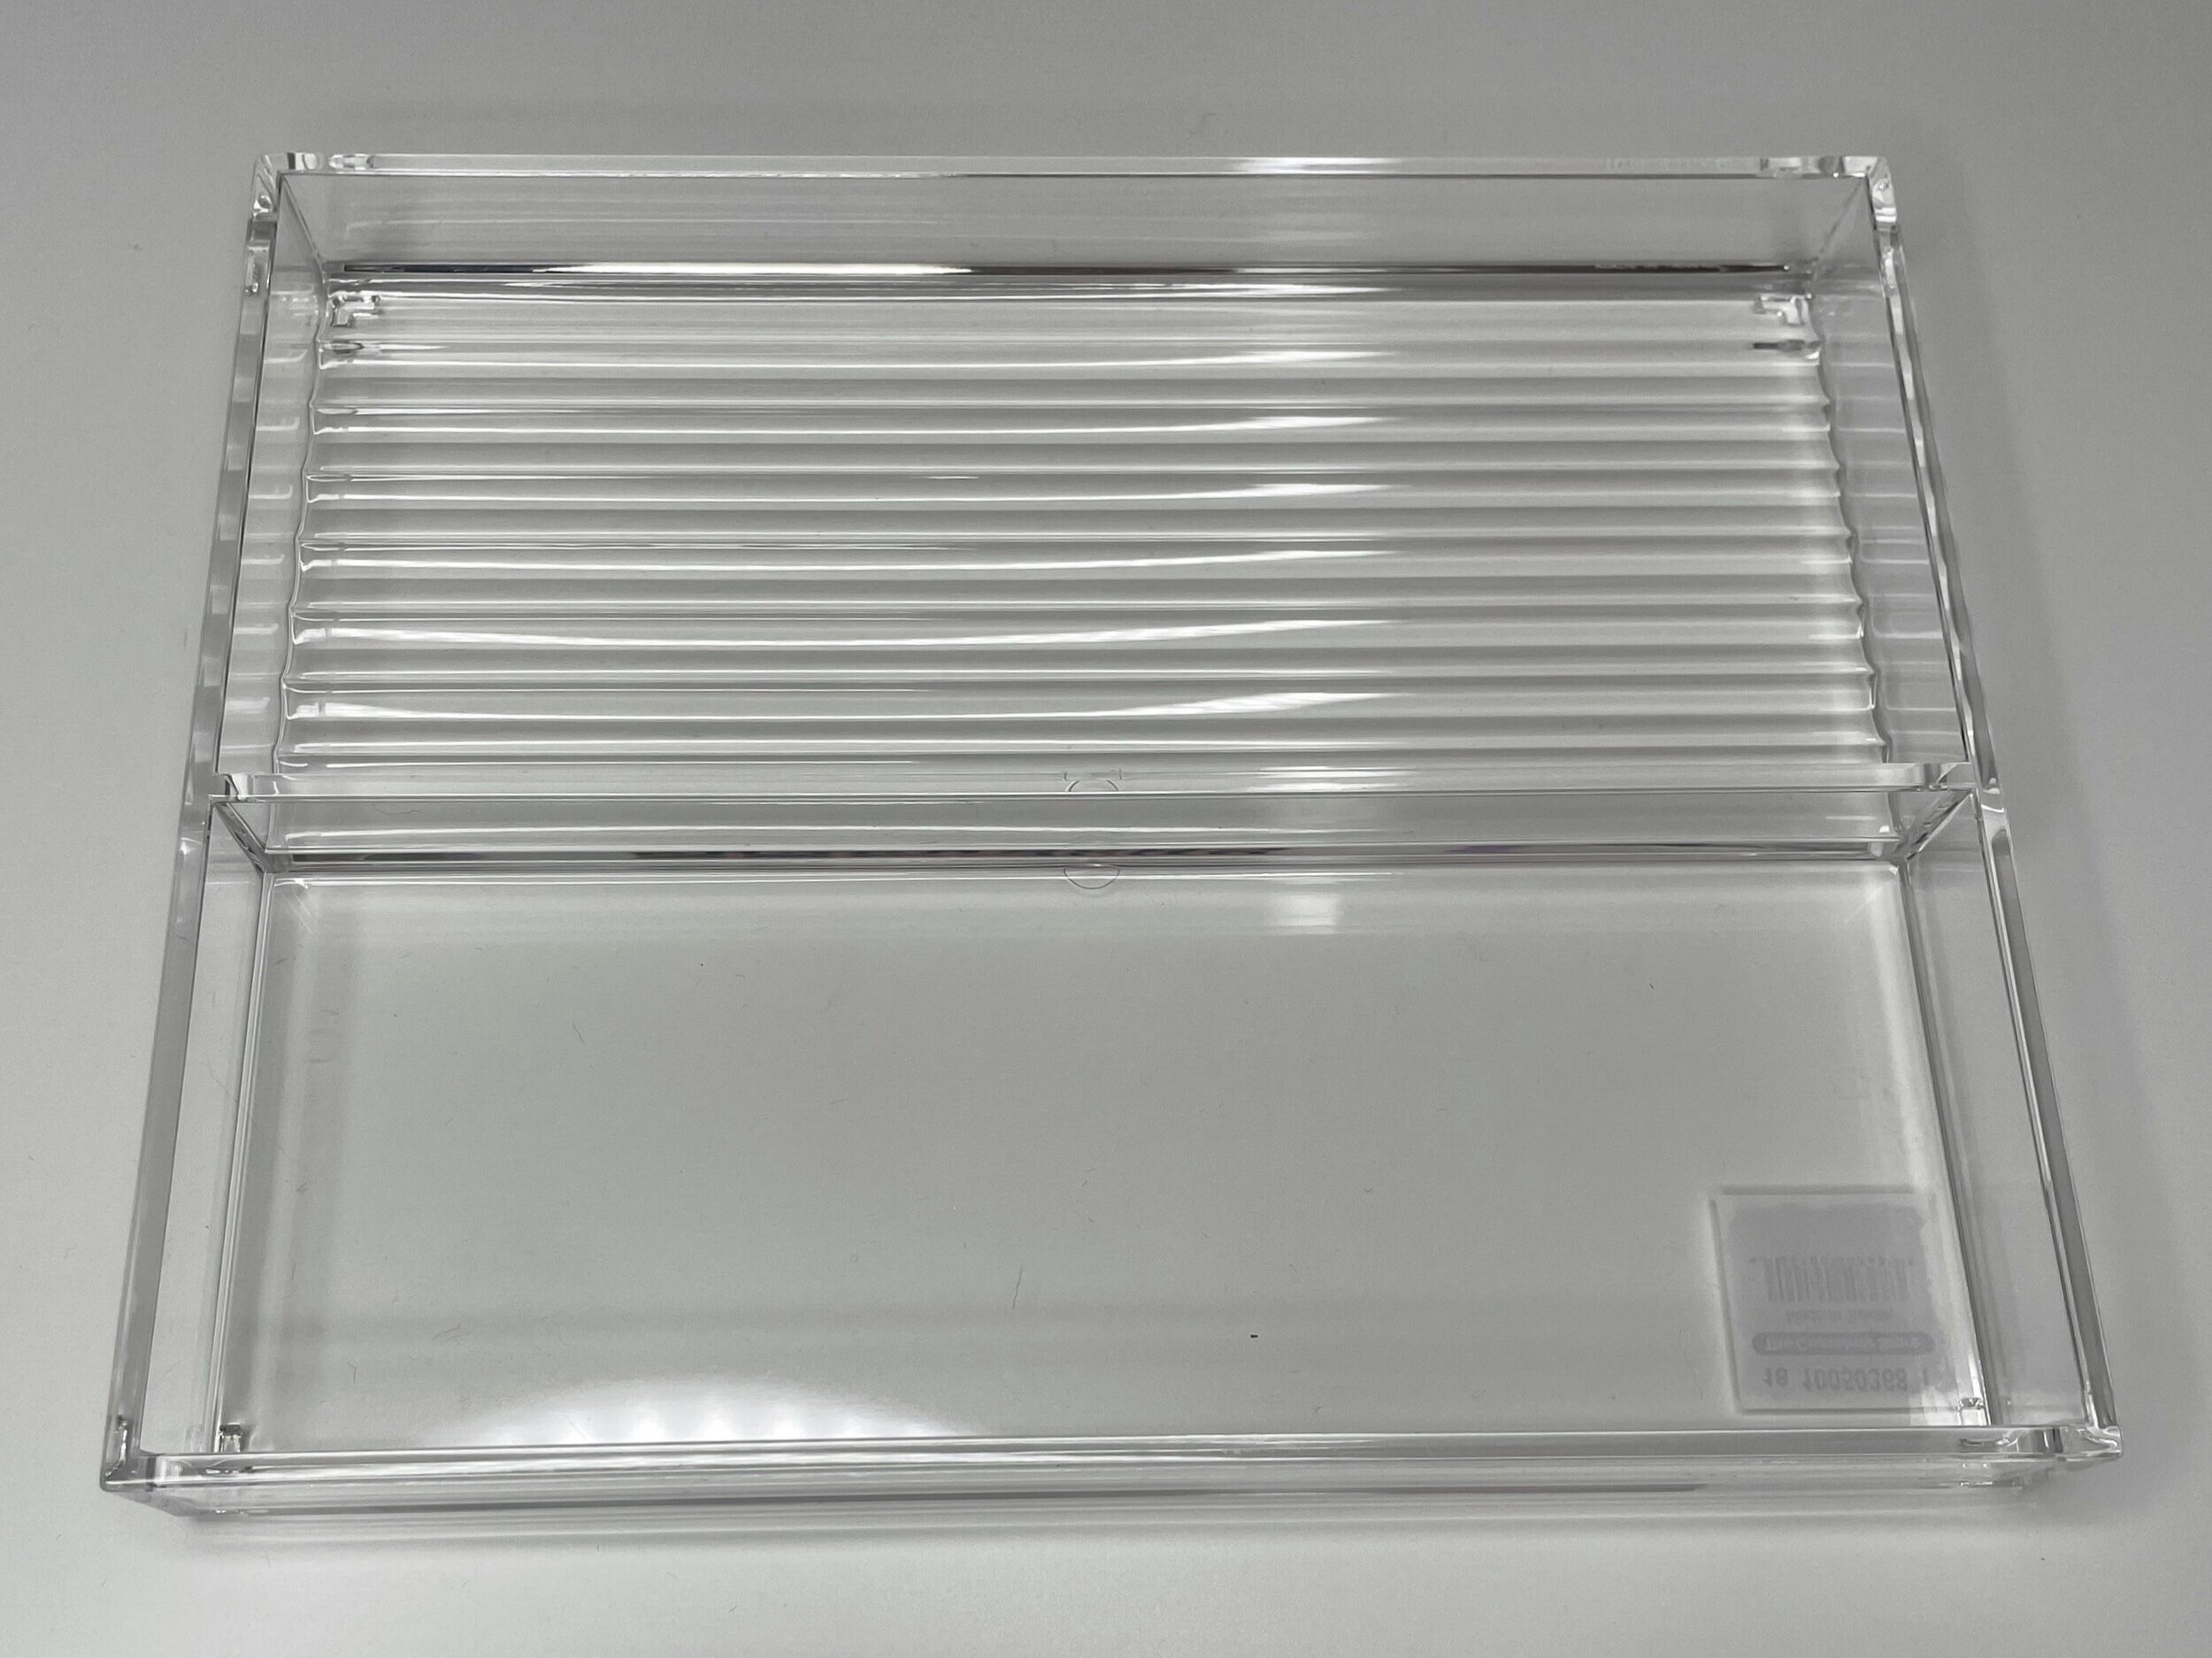
This is an option for displaying needlepoint without a protective covering. I’m thinking of stitching a fun or motivating phrase in the bigger section, and using the slotted section for fountain pens.
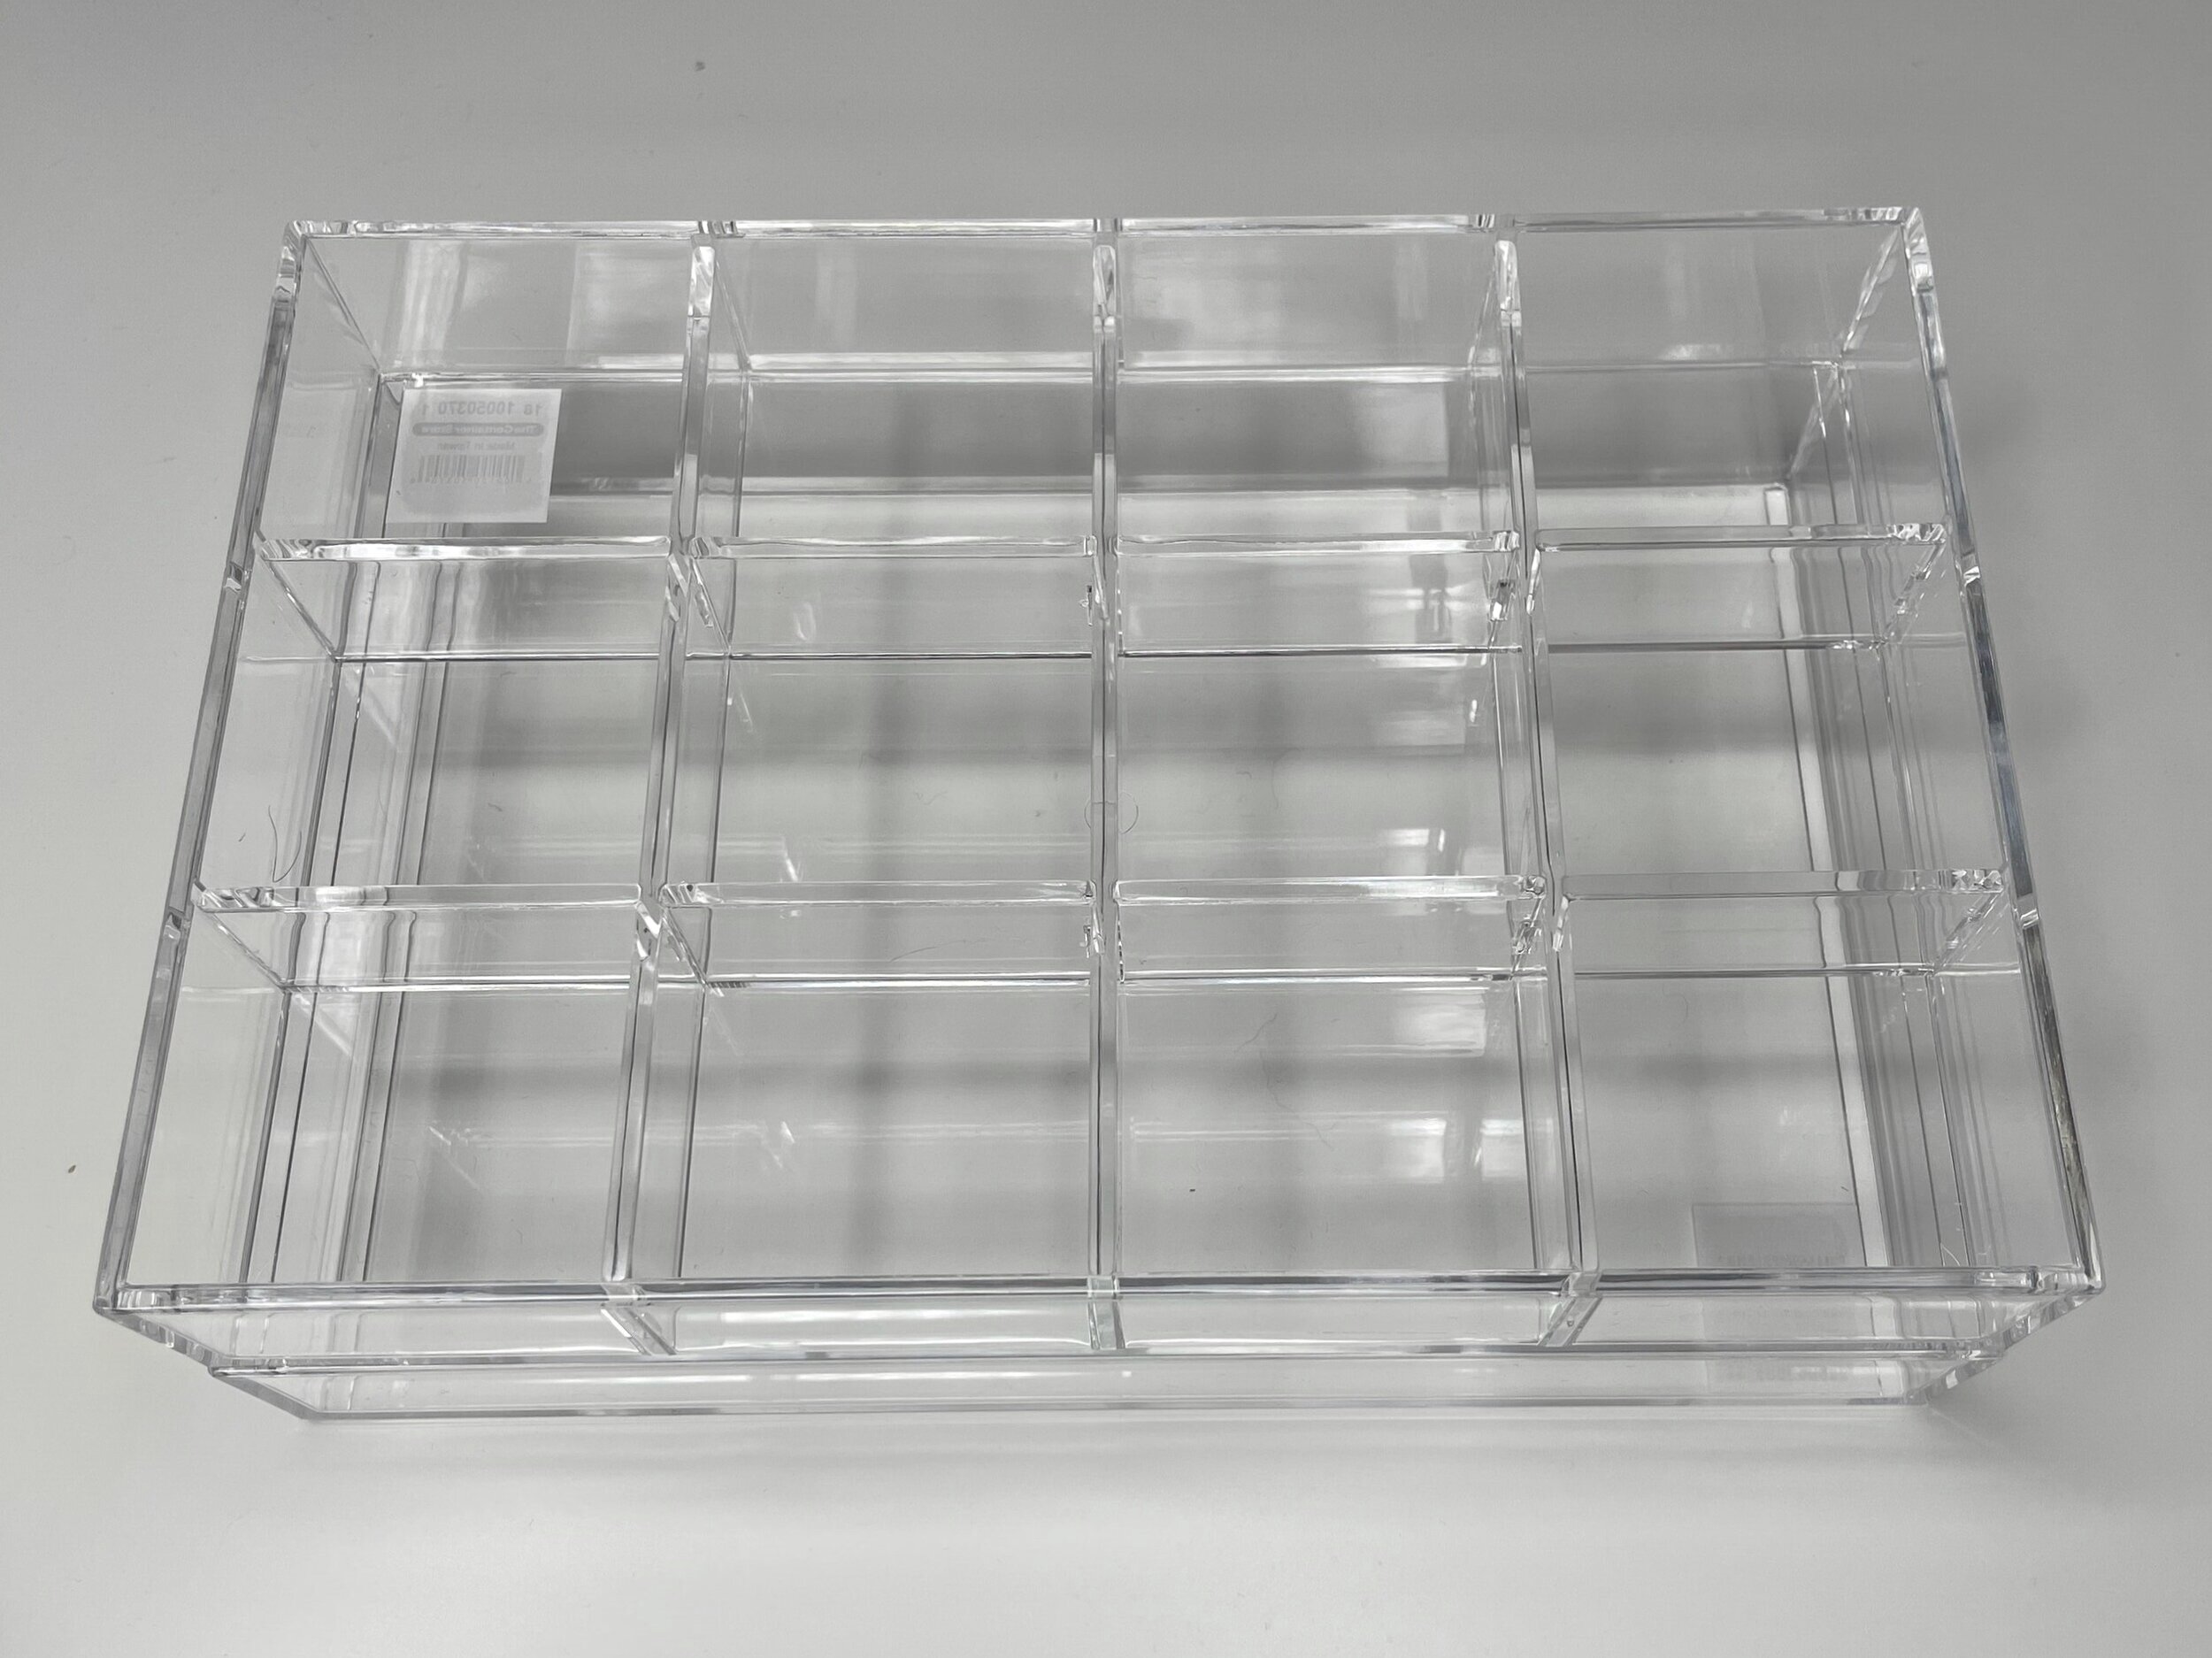
I’m still deciding how to use this one. I’m thinking of stitching a chocolate-themed canvas and displaying chocolate truffles for guests. The dividers are adjustable, and the tray leaves about 1” for your needlepoint. This is stacked over a regular tray.
Drawers

This set from Target looks like it would work well with a needlepoint piece in the top drawer since it’s shallow.